How to Use a Green Screen With Proper Camera Distance for Virtual Backgrounds
Keep your subject 6 to 10 feet from the green screen to cut shadows and color spill while improving keying quality. This distance helps blur the backdrop slightly, reducing wrinkles and texture issues in post. Make sure lights are diffused and even, set at 45-degree angles, and match a 5500K–5600K color temperature. Use manual camera settings: f/5.6 to f/8 aperture, 1/50 or 1/60 shutter, and shoot in 10-bit if possible. Camera distance alone won’t fix poor lighting or wrinkled fabric-perfect those, and you’ll see cleaner virtual backgrounds with less effort. There’s more to optimizing each element for flawless results.
Notable Insights
- Position the green screen 6 to 10 feet behind the subject to minimize shadows and color spill.
- Maintain proper camera distance to increase depth of field and keep the subject in sharp focus.
- Use a centered, level camera angle to avoid distortion and ensure clean keying results.
- Light the green screen evenly with softbox lights at 45-degree angles to prevent hotspots.
- Shoot in 10-bit 4:2:2 or higher to retain color detail for more accurate virtual background keying.
Ideal Distance From Green Screen
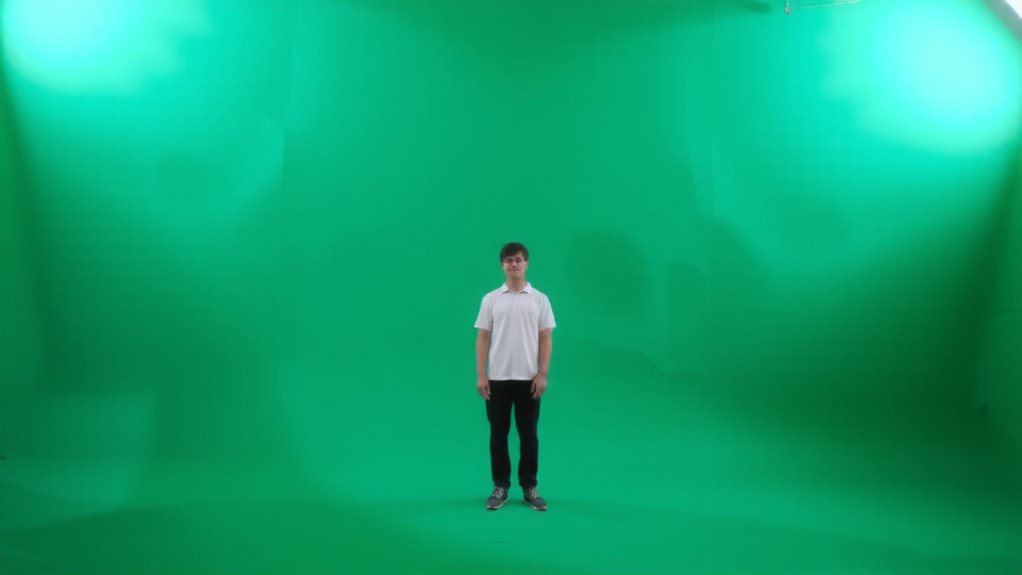
About six to ten feet behind you should be the green screen, that’s the sweet spot for most setups. This distance keeps shadows and color spill minimal while ensuring your focus area stays sharp. If you’re too close, wrinkles in the screen texture become exaggerated, and lighting gets uneven-both hurt keying quality. Standing farther back smooths out minor imperfections and gives lights room to diffuse properly. But don’t go beyond ten feet unless you have a large, well-lit space-otherwise, ambient light degrades the green’s brightness. Most foldable backdrops and fabric kits perform best within this range, especially under softbox or LED panel lighting. Even premium chroma key paints need proper spacing to avoid hotspots. Test with your actual camera and software, since sensor size and lens choice affect results. Stay in the six-to-ten-foot zone and adjust based on real-world preview-your keying software will show flaws fast if screen texture or lighting shifts.
Why Camera Distance Affects Green Screen Quality
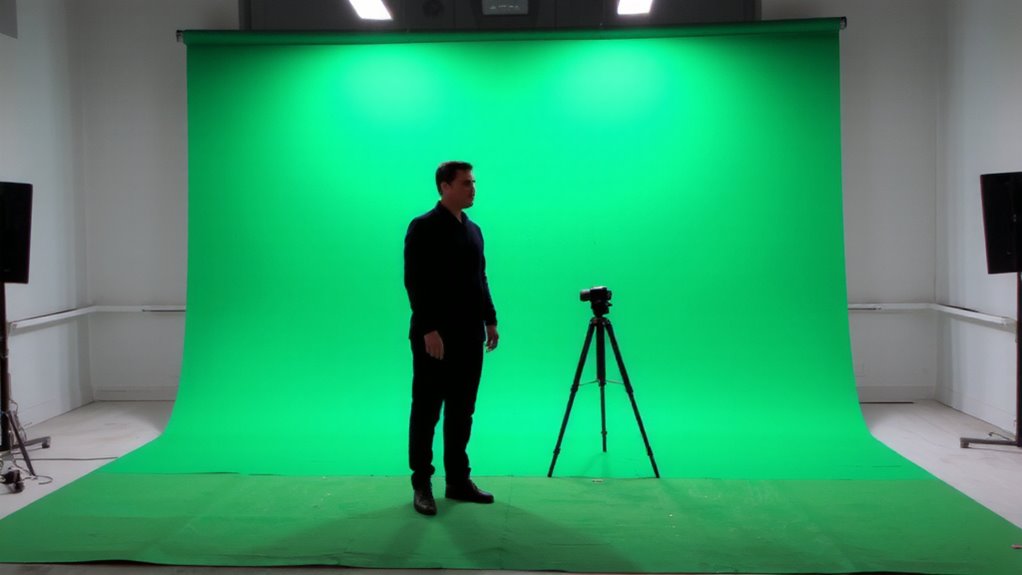
You’ve set your green screen six to ten feet behind you, and that spacing isn’t just about avoiding shadows-it directly shapes how cleanly your camera separates you from the background. The distance improves focus depth, letting your camera keep you sharp while the green screen blurs slightly, reducing texture and wrinkles that confuse chroma key software. A wider gap also minimizes color spill, even if you’re not lit perfectly. Camera angle matters too-staying centered and level prevents distortion that can stretch or warp the green behind you, making edges harder to key. If you’re too close, depth suffers, and both you and the screen stay in focus, exposing imperfections. While more space helps, it’s not a fix for poor lighting or thin fabric. You’ll still need even illumination and a non-reflective surface. It’s a balance-distance improves quality, but only when paired with solid setup.
How to Prevent Shadows and Color Spill?
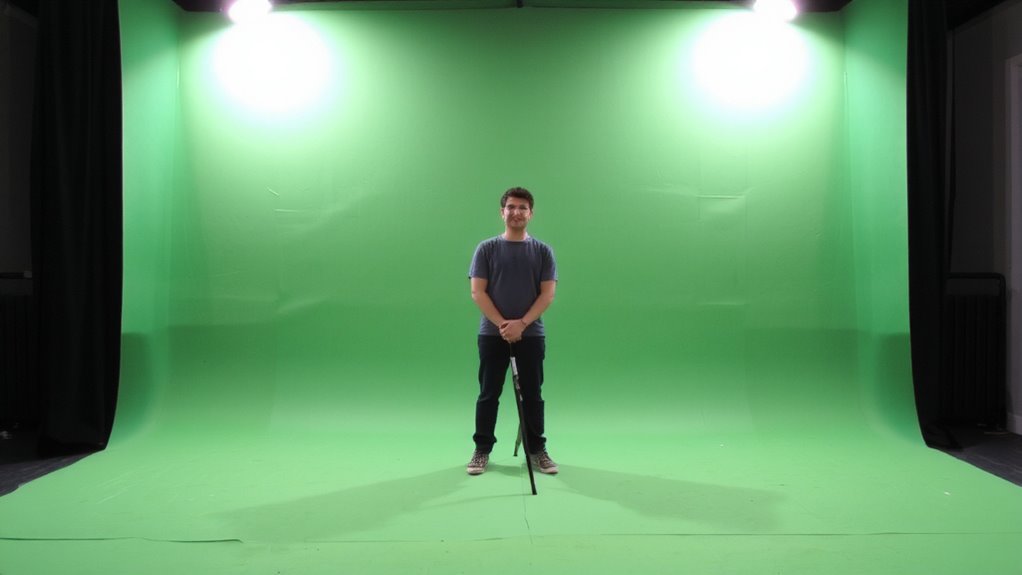
While proper lighting won’t eliminate the need for careful camera placement, it’s your best defense against both harsh shadows and color spill on a green screen. To reduce shadows, position your key and fill lights at 45-degree angles, guaranteeing even coverage. Use diffusers to soften light and minimize contrast. Keep your subject at least 6–10 feet from the green screen to prevent light bounce, which causes color spill that contaminates skin and clothing tones. Match your lights’ color temperature (typically 550 docker 5500K) to avoid unnatural hues. Choose a green screen with smooth fabric texture-wrinkles scatter light and create hotspots.
| Factor | Impact |
|---|---|
| Distance from screen | Reduces spill and shadow depth |
| Diffused lighting | Minimizes harsh shadows |
| Uniform color temperature | Prevents color shifts |
| Wrinkle-free fabric texture | Guarantees even color for keying |
| Screen material | Affects reflection and durability |
Lighting Tips for a Seamless Green Screen
Proper lighting makes or breaks your green screen results, even if you’ve nailed camera distance and minimized shadows. You need even, consistent illumination across the entire backdrop to avoid hotspots and guarantee clean keying. Use two softbox lights with adjustable color temperature-set them to match your scene, usually around 5600K for a daylight look. Position them at 45-degree angles to the screen, slightly above and below mid-height, to reduce glare. Diffusion placement is key: place diffusers close to the lights to soften output and eliminate harsh edges. Don’t under-light the background-use at least the same intensity as your subject, but keep the subject slightly brighter. Mismatched color temperature between lights causes uneven green tones, making keying harder. Overpowering the screen slightly helps, but too much brightness introduces noise. Test your setup with a preview in your software to catch issues early.
Best Camera Settings for Green Screen
The foundation of a clean green screen key starts with your camera settings-get them wrong, and even perfect lighting won’t save your shot. Set your camera to manual mode so exposure stays consistent, avoiding shifts that break compositing. Use a narrow aperture (f/5.6 to f/8) for depth of field, keeping both you and the screen in focus. Crank up the shutter speed just enough to match your lighting frequency-usually 1/50 or 1/60 sec-to prevent flicker. Adjust white balance manually; auto can drift and skew green hues, making color calibration harder in post. Shoot in the highest bit-depth and color sampling your gear allows (10-bit 4:2:2 is ideal) for smoother keying. Avoid heavy in-camera sharpening or noise reduction-they ruin edge detail. Always monitor with a waveform or false color to verify even luminance. Test footage first; small sensor cameras often struggle with dynamic range, demanding extra care.
Avoid These 5 Green Screen Setup Mistakes
Still getting harsh shadows or uneven color spill on your green screen shots? Common setup mistakes could be undermining your results. First, don’t skimp on green screen material-cheap fabrics often wrinkle easily, creating color variations that ruin clean keys. Use a smooth, wrinkle-free backdrop, ideally muslin or seamless paper. Second, improper lighting causes hotspots and shadows; three-point lighting balances the screen evenly. Third, placing your subject too close to the screen increases spill and shadow issues-maintain at least 6–10 feet between them. Fourth, incorrect camera distance distorts focus and color uniformity. Finally, mismatched frame rate settings can introduce motion artifacts, especially in fast movement, making keying jittery. Always match your camera’s frame rate to your editing software’s timeline. These fixes aren’t magic, just disciplined setup-but they’re essential for reliable, professional results.
Test Your Green Screen and Fix the Key
You’ve set up your lights, chosen a wrinkle-free backdrop, and kept your subject far enough from the screen-now it’s time to see if the setup actually works. Fire up your camera and test the key in real time. Look for smooth edge blending-any fringing or haloing means your lighting isn’t even or you’re too close to the screen. Adjust brightness or reposition lights to eliminate shadows. Use color correction tools in your software to fine-tune the green, ensuring it’s uniform without oversaturation. Most apps handle slight variations, but drastic shifts cause spill and poor matte separation. Check different skin tones and clothing colors in frame-some fabrics reflect green, complicating the key. Test multiple times under consistent conditions. Even high-end gear fails if the background isn’t lit properly. A perfect key demands precision, not just good equipment. Don’t assume it works once-retest when changing angles or lighting.
On a final note
You’ll get clean virtual backgrounds with the right setup, but distance and lighting make or break results. Stand 6–10 feet from the green screen to reduce shadows and spill. Evenly lit subjects and a wrinkle-free backdrop guarantee reliable keying. Use a DSLR or high-end webcam with manual focus and proper white balance. Test footage before recording-some software struggles with fast motion or low light. No setup is perfect; trade space for quality.