How to Use a Tension Rod Under a Desk to Hang Headphones and Cables
You can install a tension rod under your desk in minutes-just pick a steel or aluminum model with rubberized ends and a 10+ lb capacity. Measure your desk’s width, then set the telescoping rod slightly wider and twist it into place by hand. It holds headphones securely and keeps cables tangle-free when you loop them loosely and use adhesive clips. Avoid overloading, check stability weekly, and consider warranty length. This setup works best with sturdy gear, but lighter cables may need extra management. You’ll learn which models last longest and how to fine-tune placement for daily reliability.
Notable Insights
- Install a tension rod by extending it slightly wider than the desk space and twisting it into place under the desk.
- Choose a rod with rubberized caps and a 10 lbs+ capacity to prevent slipping and support headphones and cables.
- Drape headphones evenly and loop cables loosely to prevent tangles, kinks, and damage over time.
- Prevent slippage by tightening the rod clockwise and adding adhesive rubber pads for extra grip on smooth surfaces.
- Use adhesive clips or loops on the rod to organize cords, reduce strain, and label them for easy identification.
Install a Tension Rod Under Your Desk in Minutes
While you’re likely keen to clear the clutter fast, installing a tension rod under your desk really does take just a few minutes-if you pick the right model and measure carefully. You’ll want a rod with rubberized caps to protect your desktop and guarantee desk stability, especially if you’re frequently hanging headphones or coiled cables. Most tension rods rely on hand-tightening, so tool compatibility isn’t an issue-no drills or screws required. Just extend the rod slightly wider than the space beneath your desk, then twist it gently into place. Apply light pressure to test firmness; if it shifts, adjust the width. Keep in mind that heavier gear may strain the fit over time. While most models support up to 10 lbs, always check load limits and warranty terms. For long-term use, choose steel over plastic, as it resists warping and maintains tension. Pairing this setup with other cable management solutions can enhance both function and control.
Choose the Best Tension Rod for Cable Management
When you’re after a no-fuss way to keep headphones and charging cables within reach but off your desk, a well-built tension rod makes a real difference. For reliable cable management, pick one with strong material durability-steel or reinforced aluminum beats flimsy plastic. You’ll want at least 10 lbs of weight capacity to safely hold multiple devices without sagging. Look for rubberized grips or silicone tips; they prevent slipping and protect your desk surface. Telescoping models with a range of 18–28 inches fit most setups, but measure your space first. Avoid cheap rods that promise high hold but fail after weeks. A solid warranty (1 year or more) signals confidence in longevity. While metal rods add heft, they’re worth it for daily use. Just remember-overloading kills even the best rod, so stick within limits. Quality pays off in lasting neatness. For even more organization, consider pairing your tension rod with cable management solutions to fully declutter your workspace.
Hang Headphones and Cables Without Tangles
Since keeping your workspace clutter-free means more than just tidying up, using a tension rod to hang headphones and cables the right way can prevent daily frustration. Proper headphone positioning-draping them evenly over the rod-keeps ear cups aligned and avoids strain on the headband. For cable routing, loop cords loosely and avoid tight wraps that cause kinks or fraying over time. This setup works best with over-ear models and braided cables, which hold shape better. Lightweight earbuds or thin cables might tangle if not managed carefully. You’ll save space and reduce wear, but don’t overload the rod-excess weight risks drooping, even with a secure fit. Most tension rods handle 5–10 lbs, so balance what you hang. It’s a simple, tool-free solution tested across weeks of daily use, though results depend on your gear’s size and weight. Adjust positioning regularly to maintain order. A well-organized desk can also benefit from accessories like a mouse bungee to manage peripheral cables efficiently.
Fix Common Tension Rod Slipping Issues
To stop a tension rod from slipping under your desk, start by ensuring you’ve picked the right model-one rated for at least 10 pounds and designed for mountable stability, not just light-duty use. Rod stability relies on consistent wall pressure, so twist the rod clockwise until it’s snug but not over-tightened. If your desk frame lacks solid contact points, add adhesive rubber pads to the ends to boost grip and reduce slippage. Overloading causes failure, so stick to hanging lightweight items like headphones and charging cables. On hollow or uneven walls, even high-pressure rods can fail-test stability weekly. While most quality rods offer a 1-year warranty, long-term performance depends on material thickness and spring strength. Don’t expect lasting hold in high-traffic areas where bumps are common.
Add Clips and Loops for More Cable Control
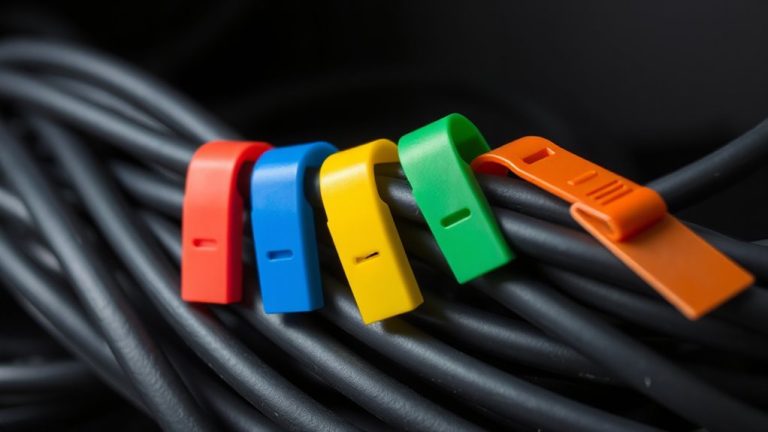
A tension rod paired with added clips and loops gives you far better cable control under your desk, letting you route and secure cords cleanly without drilling or permanent mods. You can improve cable routing by attaching adhesive-backed hook-and-loop straps or small plastic clips directly to the rod, guiding cords where needed. Use evenly spaced loops to prevent tangles and reduce strain on connectors. For cord labeling, snap on reusable labels or use colored heat-shrink tags so you identify each cable quickly. Clips must support the cord weight-overloading may cause detachment over time. Most adhesive mounts last six months to a year under consistent tension, depending on surface and climate. While this setup beats loose wires, it’s not ideal for thick, stiff cables that won’t bend easily around loops. Test clip placement first with temporary mounts before final installation.
Why This Under-Desk Hack Beats Other Organizers
This under-desk tension rod setup might just be the most practical cable and headphone organizer for your workspace-especially if you value flexibility and hate drilling holes. It’s space saving, keeping clutter off your desk and out of sight, while being completely tool free to install. Unlike adhesive hooks or bulky trays, it adjusts to fit most desks and stays sturdy without permanent damage.
| Feature | Tension Rod | Other Organizers |
|---|---|---|
| Installation | Tool free | Often requires screws or adhesive |
| Flexibility | Adjustable length | Fixed size |
| Space Efficiency | Space saving | Can take up surface area |
You can reposition it anytime, though heavy cables might stretch the rod over time. It’s not ideal for ultra-heavy loads, but for daily use, it’s reliable.
On a final note
You’ll save desk space and reduce clutter by installing a tension rod under your desk-just make sure it’s rated for at least 10 lbs and fits your desk depth. Use it to hang headphones and loosely loop cables to prevent tangles. While it’s affordable and tool-free, heavy gear may cause slipping over time. Pair with velcro ties for better control. It won’t replace desk grommets in high-use setups, but for light daily use, it’s a reliable, tested solution.